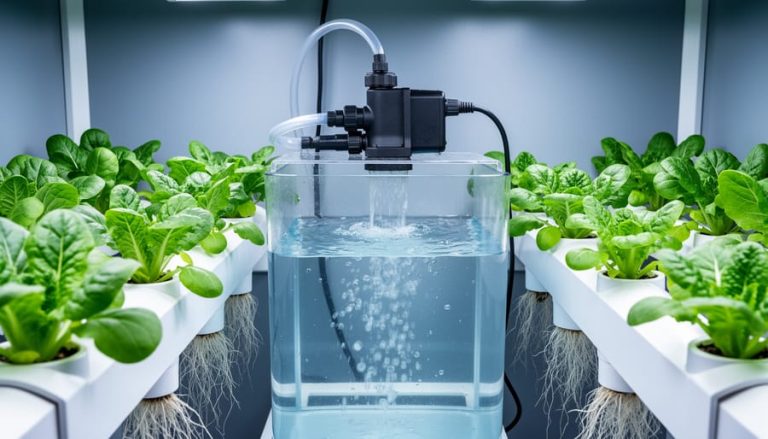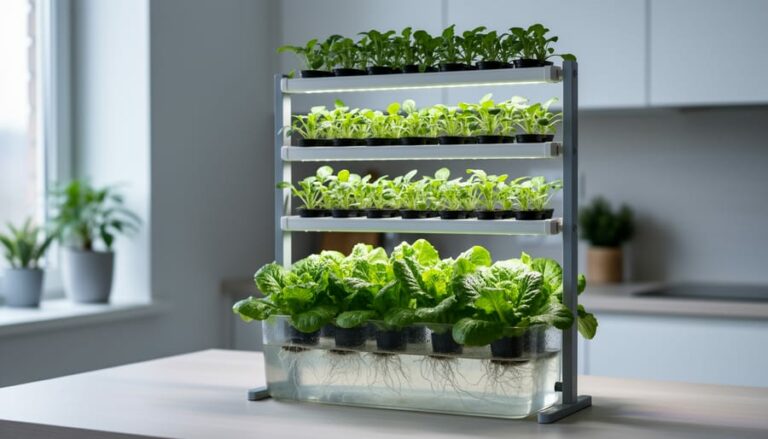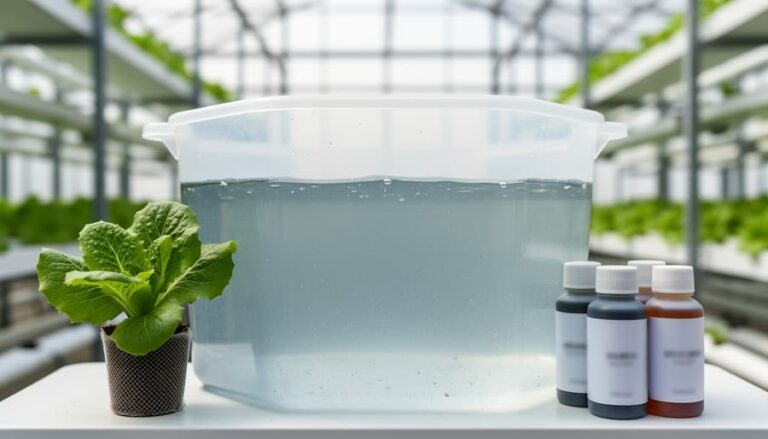
To clean a hydroponics system, drain the reservoir, flush the lines with a diluted hydrogen peroxide or mild bleach solution, scrub away any film, then rinse until no trace of cleaner remains. Set aside 1 to 2 hours for a small home setup. It’s beginner-friendly, and the only real prerequisite is an empty system with the plants moved out temporarily.
Why bother? Warm, nutrient-rich water is exactly what algae, bacteria, and mineral salts love. Left alone, they clog emitters, drain oxygen from the root zone, and give root rot a place to start. A clean system keeps nutrient flow steady and your plants far less stressed.
The method works because each step handles a different problem. Draining removes old solution, the cleaning solution kills what’s living on surfaces, scrubbing lifts the biofilm (that slimy layer clinging to tubing and tanks), and rinsing protects your roots from chemical residue.
If you’re newer to this, our guide for hydroponics beginners covers how these systems work before you start taking them apart. Below, you’ll find the tools you need, the safety rules, the exact order of steps, and how to confirm the job is done.
Why a Clean System Protects Your Plants (and How Often to Do It)
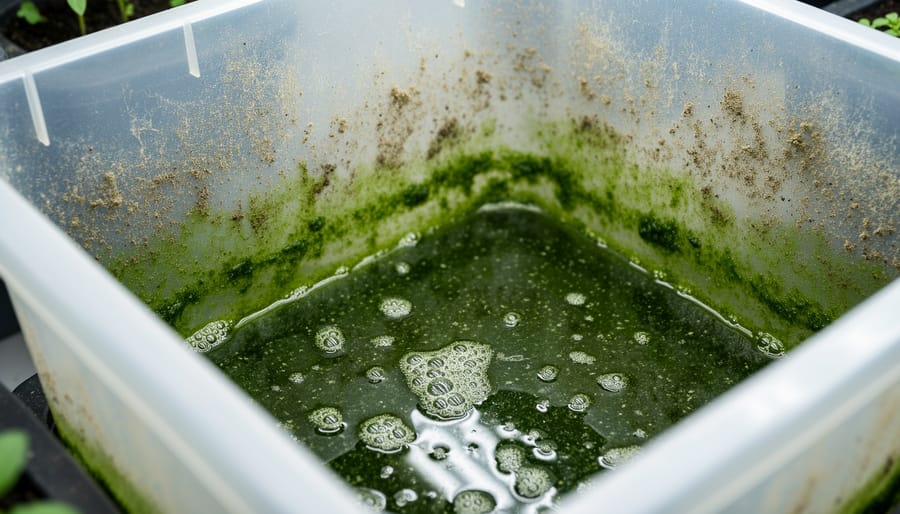
A hydroponic system is a warm, wet, nutrient-rich environment, which is great for plants and just as great for everything else that wants to grow there. Over time, four things tend to build up.
Algae shows up wherever light hits nutrient solution, turning reservoirs, channels, and net pots green. Biofilm is the slippery, slimy layer that bacteria form on pipes, tubing, and reservoir walls. Mineral salts left behind as water evaporates harden into white or crusty deposits around emitters and pump parts. And root debris, like shed root hairs and bits of dead plant matter, collects at the bottom of the reservoir and in channels.
None of this is just cosmetic. Algae competes with your plants for nutrients and oxygen in the water. Biofilm and mineral crust narrow tubing and clog pumps and drip emitters, which can starve plants of water without you noticing right away. Decaying debris feeds harmful organisms, and pythium root rot, a common water mold that turns roots brown and slimy, thrives in dirty, warm, low-oxygen solution. Even if nothing dramatic happens, crusty salts and organic matter can throw off your pH and nutrient balance, so your readings stop matching what your plants are actually getting.
How often you clean depends on your setup, but here’s a practical starting point:
– Between crops: Do a full deep clean of the entire system.
– Every one to three weeks: Drain the reservoir, refill with fresh solution, and wipe down the walls.
– In between: Do quick wipe-downs and check emitters, filters, and pump intakes for early buildup.
Treat those numbers as a baseline, not a rule. Warmer water, any light leaking into the reservoir, and heavy feeders like tomatoes or peppers all push you toward cleaning more often. A cool, light-tight system with leafy greens may stretch toward the longer end. Your own system will tell you: if you spot slime, odor, or a drop in flow, it’s time to clean.
Tools and Materials to Gather Before You Start
Gathering everything first saves you from leaving a half-cleaned system sitting open while you hunt for a brush. Here’s what to set out on a table or bench before you unplug anything:
- A bucket or spare tub, to hold your plants with their roots kept moist while the system is empty.
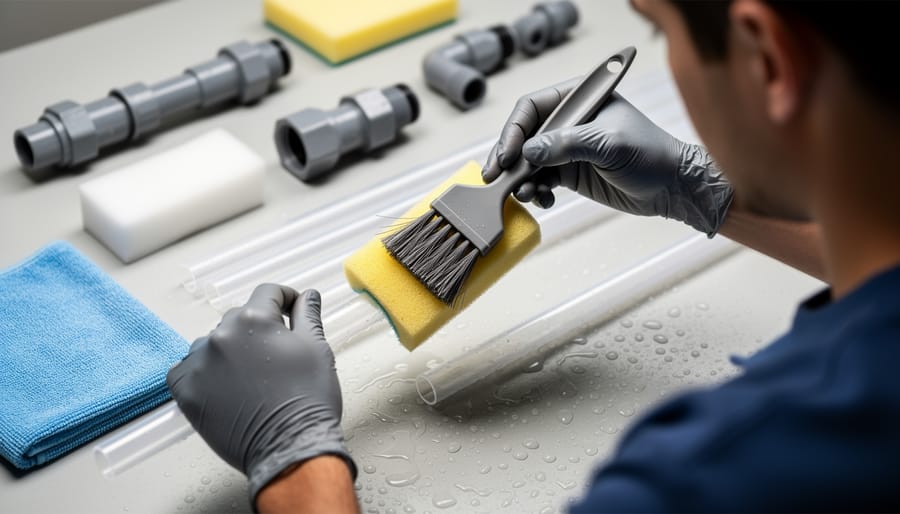
- A soft scrub brush and a bottle brush, for reservoir walls, channels, and the inside of tubing.
- Non-abrasive sponges, since scratches in plastic give biofilm and algae more places to hide.
- A cleaning solution: diluted hydrogen peroxide, plain white vinegar for mineral scale, or diluted unscented bleach.
- A separate soak container, for pumps, air stones, and emitters.
- Clean water, for rinsing everything and refilling at the end.
- A pH test kit or meter, to check the fresh solution once you refill.
- A clean towel, for drying your hands and wiping down parts before reassembly.
A quick word on cleaners. Choose products that are food-safe or approved by your system’s manufacturer, and check the label before you buy. Skip anything scented, anything with added dyes or degreasers, and never mix bleach with vinegar or ammonia-based products.
You don’t need to spend much. Old food-grade buckets, a toothbrush for emitters and small fittings, and a dollar-store sponge do the job just as well as specialty gear. If you grow in a community garden or school program, consider keeping one shared cleaning kit in a labeled bin so everyone can borrow the same supplies and keep the routine easy to repeat.
Safety Warnings: Chemicals, Electricity, and Your Plants
Cleaning day involves water, electricity, and chemicals in the same space, so a few ground rules keep you and your plants safe.
Start by unplugging every pump, timer, and heater before you touch anything. Even a quick wipe-down near a live outlet is a risk. Keep outlets, power strips, and cords well away from splashing water, and set up your cleaning station on a dry floor with the plugs elevated or covered.
Use one cleaning product at a time and rinse thoroughly before switching to another. Wear waterproof gloves and eye protection, since splashes from peroxide or diluted bleach sting and can cause real damage. Open a window or run a fan so fumes can clear, especially in a closet, basement, or small grow tent.
Read the label on every cleaner you plan to use, and check your system manufacturer’s instructions for approved products and dilutions. Some plastics and pump seals don’t tolerate certain chemicals.
Your plants still need care while the system sits empty. Move them somewhere shaded and keep their roots damp with clean water so they don’t dry out.
Know when to pause. If you find unknown residue, a strange smell, or a pump cord with cracked or frayed insulation, stop and sort it out before continuing. Replace damaged equipment rather than trusting it.
Finally, keep kids and pets away from the work area, and store all cleaning solutions in labeled, closed containers out of reach.
Step-by-Step: Cleaning Your Hydroponic System from Reservoir to Roots
Prepare the System and Protect Your Plants
Before you touch a single tube, get the system and your plants ready. Here is the full sequence you’ll follow through this guide:
- Power down and unplug pumps, timers, and lights.
- Relocate and protect your plants.
- Drain the reservoir and remove the used nutrient solution.
- Scrub tanks, channels, and tubing.
- Soak and clean the pump, air stones, and emitters.
- Sanitize and rinse thoroughly.
- Reassemble and refill with fresh nutrient solution.
For the first two steps, unplug everything and dry your hands before handling cords. Snap a quick photo of your tubing runs and fittings, because it makes reassembly much easier.
Next, move your plants somewhere shaded and out of drafts. Set them in a bucket with an inch or two of fresh, pH-balanced water so the roots stay moist. Roots dry out fast, so keep this stretch short.
If a crop is mid-growth, work quickly and clean one section at a time if your setup allows it. Between crops, you have all the time you need, so you can go deeper without worrying about stressed roots.
Drain, Scrub, and Soak the Components
Start by draining the reservoir completely. Use a small submersible pump or a siphon hose if the tank is too heavy to tip, and let any channels, grow tubes, or trays empty out too.
Before you pour that spent solution down the drain, think about where it should go. Used nutrient solution is mostly dissolved fertilizer, so some growers dilute it and water outdoor ornamentals or lawns with it. Skip edibles and anything near storm drains or waterways. If your area has rules about runoff or greywater, check them first.
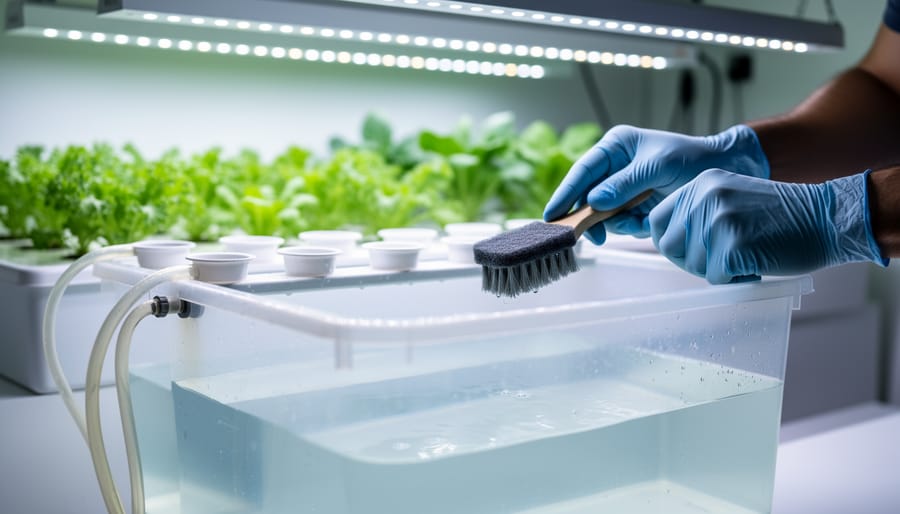
With everything empty, start scrubbing. Rinse loose debris and root fragments away with clean water, then work a soft brush or non-abrasive sponge over the reservoir walls, channels, and lid. Biofilm is the slippery, slimy layer that clings to surfaces, and it needs physical scrubbing because rinsing alone won’t lift it. A bottle brush is perfect for tubing and narrow fittings. For stubborn spots, a mix of equal parts white vinegar and water loosens the white, crusty mineral scale that builds up around emitters and tank edges. Let it sit for ten to fifteen minutes before scrubbing.
Next, take the small parts out of the system. Pumps, air stones, and emitters collect gunk in places your brush can’t reach, so soak them in a container of vinegar solution for at least thirty minutes. Gently shake or tap emitters afterward, and use an old toothbrush on the pump intake and impeller area.
Keep the pump unplugged the whole time. Dry hands, dry cords, and no exceptions. Once everything looks clean and feels smooth, you’re ready to sanitize.
Sanitize, Rinse, and Refill
Once everything is scrubbed, it’s time to sanitize. Fill the reservoir with fresh water and add your chosen sanitizer at the label’s recommended dilution. Common choices are hydrogen peroxide at around 3% or diluted unscented bleach, and the manufacturer’s instructions always win if they differ. Circulate the solution through the pump, tubing, and channels so it reaches every surface, then let it sit for the contact time listed on the product, usually 10 to 30 minutes. Contact time matters because a quick splash won’t kill biofilm hiding in corners.
Now rinse, and then rinse again. Drain the sanitizer and flush the whole system with clean water, running the pump each time. Keep going until there’s no chemical smell and no foamy or cloudy residue. If you used bleach, give it an extra rinse or two, since even small leftovers can burn tender roots. Wipe down trays and lids with a clean towel while you’re at it.
Reassemble the parts using the photo you took earlier. Check that tubing is seated, emitters are clear, and the pump cord is dry and undamaged before plugging in. Then refill with fresh water and mix your nutrients. If you’re feeding with organic nutrients stir well and remember they can foul a system faster than mineral salts, so this cleaning habit pays off. Test pH and adjust it for your crop.
Run the system for about 10 to 15 minutes before putting plants back. Watch for drips at fittings, weak spray from emitters, or water pooling anywhere it shouldn’t. This quick test is a small but valuable part of regular system maintenance and it saves you from discovering a leak after your plants are back in.
How to Verify Your System Is Truly Clean and What to Do Next
A clean system looks, smells, and runs differently from a dirty one, so check for all of these before you call it done.
– Surfaces: no slime, film, or sour smell on the reservoir walls, channels, or tubing.
– Flow: water moves steadily through every emitter or channel, with no sputtering or dry spots.
– Pump: it runs quietly and smoothly, without grinding or surging.
– Readings: pH and EC (electrical conductivity, a measure of nutrient strength) sit in the range your crop prefers.
– Roots: returning plants show firm, white roots rather than brown, slimy ones.
If one check fails, repeat the rinse or re-soak that part before replanting.
Once everything passes, a few habits keep it that way. Wrap or paint your reservoir so light can’t reach the solution, since light is what feeds algae. Do quick spot checks each week, looking at emitters, the water line, and root color. Jot your cleaning dates, pH readings, and anything odd in a notebook or phone note. Over time, that log shows you the patterns behind recurring problems.
If you like gadgets, inexpensive pH and EC sensors, or AI-assisted monitoring tools, can flag drifting numbers before you spot symptoms. For a fuller routine, our guide to Hydroponic maintenance walks through year-round care.
Finally, share what you learn. Post your cleaning schedule in a local garden group or school program so newer growers can borrow it. That kind of community growing makes healthy systems easier for everyone.
Common Questions About Cleaning Hydroponic Systems
Can I clean the system with plants still in it?
For a light wipe-down of outer surfaces, yes. For a true deep clean, move plants to a shaded spot with their roots kept damp, because scrubbing and sanitizer contact can damage roots.
Is hydrogen peroxide safe for roots?
Diluted hydrogen peroxide is widely used in hydroponics, but strength matters. Follow the product label or your system manufacturer’s guidance, and keep concentrated solutions off the roots.
How do I remove stubborn algae or mineral crust?
Soak the affected parts in white vinegar to dissolve mineral scale, then scrub with a soft or bottle brush. For algae, scrub first and sanitize afterward, then block light from the reservoir and channels so it doesn’t return.
Do I need to sanitize between every crop?
A good scrub and rinse between crops is a smart habit, and sanitizing is especially worthwhile if you had root problems or slime. If the last crop stayed healthy and the system looks clean, a lighter clean may be enough.
A few practical notes go with those answers. Cleaning a small countertop kit and cleaning a large shared system follow the same logic, but larger setups simply take more time, more buckets, and often an extra pair of hands. If you’re working in a school or community garden, divide the jobs: one person drains, one scrubs, and one handles rinsing and reassembly.
Used nutrient solution is the other question that comes up a lot. It shouldn’t go back into your system, but it doesn’t have to go straight down the drain either. Many growers dilute it and water outdoor ornamental plants or lawns with it, as long as local rules allow and the solution hasn’t been mixed with bleach or other cleaners. If you’ve added any sanitizer, dispose of it according to the product label instead.
When in doubt, your manufacturer’s instructions come first. Pumps, tubing, and reservoir materials can react differently to vinegar, peroxide, or bleach, and a quick check of the manual can save you from replacing a damaged part. If a question still isn’t answered, a local garden group or the company’s support line is a friendly place to ask.
A clean system isn’t about perfection. It’s a small habit that pays you back every harvest, with clearer roots, steadier nutrients, and far fewer surprises. Once you’ve done it a couple of times, scrubbing and rinsing becomes a quick rhythm, not a chore.
That habit matters beyond your own shelf or tower, too. Healthy, well-kept systems mean reliable fresh greens for your household, your classroom, or your neighborhood garden, and that’s how good food becomes easier to reach for everyone.
So start small. At your next reservoir change, give everything a proper cleaning, jot down what you did, and notice how your plants respond. Then explore the other maintenance guides on the site to keep building your confidence.