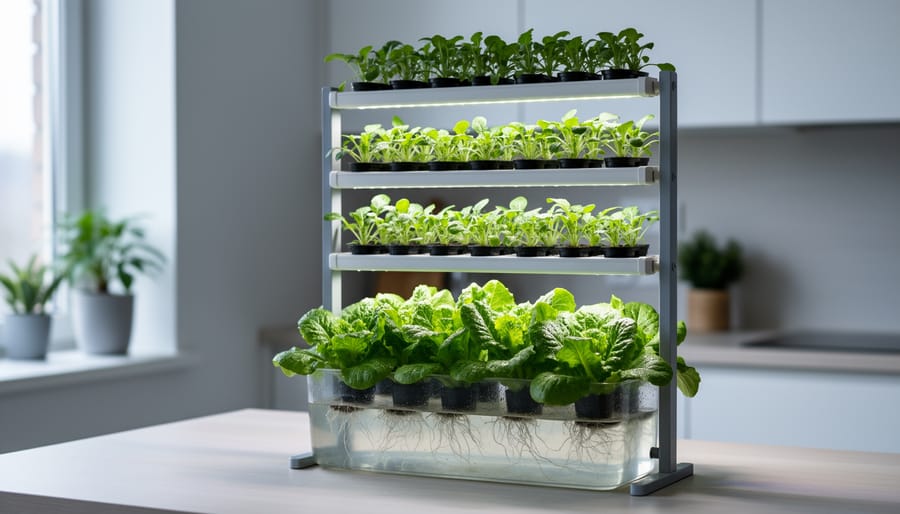
Hydroponics for beginners is simpler than you think: you’re growing plants in water enriched with nutrients instead of soil, and you can start a basic system for under $100 in about 30 minutes. This method lets you grow fresh vegetables year-round in any space, uses 90% less water than traditional gardening, and produces crops up to 50% faster because roots get direct access to oxygen and nutrients.
If you’re reading this in 2026, you’re joining a movement that’s reshaping how people think about food production in apartments, classrooms, and community spaces. The barrier to entry has never been lower. Simple systems like the Kratky method require no electricity or pumps, just a container, growing medium, nutrients, and seeds. More advanced setups with recirculating water and grow lights offer automation and faster harvests, but beginners often succeed best by starting small.
The learning curve is real but manageable. You’ll need to understand pH levels (most crops thrive between 5.5 and 6.5), nutrient solutions (pre-mixed formulas eliminate guesswork), and which plants forgive mistakes. Lettuce, herbs, and leafy greens are forgiving first crops that mature in three to four weeks, giving you quick wins while you build confidence.
This guide walks you through choosing your first system, calculating actual startup costs, avoiding the most common failures that discourage new growers, and following a 30-day timeline from setup to harvest. You’ll also discover how hydroponics fits into larger goals like teaching STEM concepts, reducing food miles in urban areas, and building resilient local food systems that don’t depend on arable land.
What Is Hydroponics and Why Should You Care?
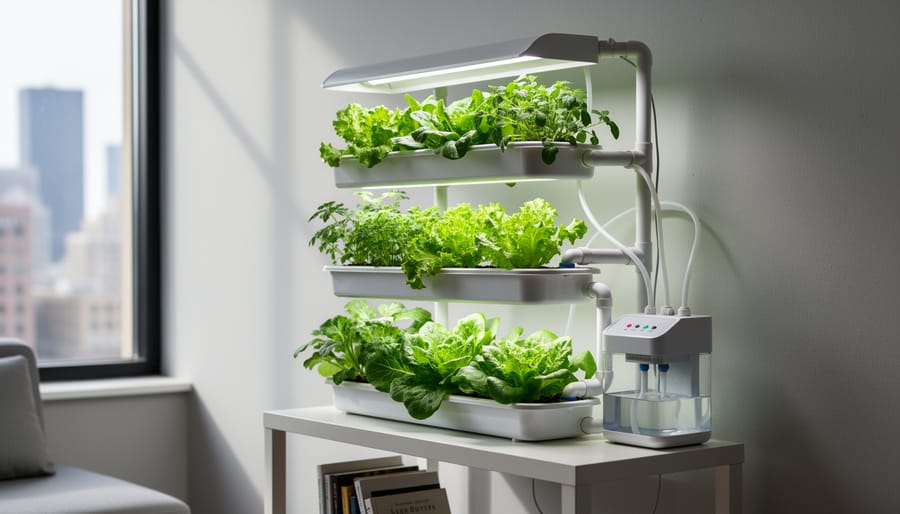
Hydroponics is growing plants in nutrient-rich water instead of soil. The roots sit directly in or above a water solution that delivers everything the plant needs, minerals, oxygen, and moisture, without requiring dirt. It’s not magic or high-tech wizardry; it’s simply giving plants what they need in a more controlled, efficient way.
Here’s why that matters: soil acts as a middleman. It holds nutrients and water, but plants still have to work to extract what they need. In hydroponics, you’re removing that middleman and delivering nutrients straight to the roots. Plants respond by growing 30-50% faster than their soil-grown counterparts because they’re spending energy on growth instead of searching for food.
The environmental case is compelling. Hydroponics uses less water than traditional agriculture, up to 90% less in many setups, because the water recirculates rather than draining into the ground. You’re also growing vertically or in compact spaces, which means more food per square foot. That density makes hydroponics viable on rooftops, in basements, and in urban areas where farmland doesn’t exist.
For neighborhoods without reliable access to fresh produce, this shift matters. You’re not dependent on long supply chains or the quality of local soil. A hydroponic system in a community center or someone’s apartment can produce leafy greens year-round, regardless of season or ground conditions.
The biggest misconception? That hydroponics is complicated or expensive. While commercial operations use sophisticated systems, beginners can start with a bucket, an air pump, and some basic nutrients. You don’t need a chemistry degree or a greenhouse. You need curiosity and a willingness to learn as you grow.
Nutritionally, hydroponic produce is comparable to soil-grown when done right, sometimes superior because you control exactly what goes into the plant. No pesticide runoff, no contaminated soil, no guessing about what your food absorbed before it reached your table.
The Real Cost: What Beginners Actually Need to Get Started
You can start hydroponic gardening for less than the cost of a week’s groceries. The barrier to entry is lower than most beginners think, and you don’t need to drop hundreds of dollars on your first system.
The absolute minimum to start growing is around $25 to $30. That gets you a simple Kratky setup using mason jars, basic nutrients, a pH testing kit, and seeds for lettuce or herbs. You’ll reuse containers you already have and grow on a sunny windowsill. This isn’t a toy setup, it produces real food you’ll actually eat.
Most beginners find their sweet spot between $75 and $150. At this level, you can run a small Deep Water Culture system with an air pump, grow lights if natural light isn’t an option, and enough supplies to grow multiple plants at once. You’re looking at harvesting salad greens every three to four weeks and herbs year-round.
| Budget Tier | Investment | What You Get | Growing Capacity |
|---|---|---|---|
| Minimal Start | Under $50 | Kratky jars, nutrients, pH kit, seeds | 4-6 lettuce heads or herb plants |
| Active Beginner | $100-200 | DWC bucket system, grow light, air pump, full supplies | 8-12 plants with faster growth |
| Serious Setup | $300+ | Multi-plant system, quality lights, automation tools | 20+ plants, expandable design |
The smart approach is starting with one or two Kratky jars to learn the basics of nutrient management and pH balancing. Once you’ve harvested your first batch of lettuce and understand how plants respond, then consider upgrading to an active system with pumps and timers.
Hydroponics scales with your budget and confidence. You can add a second bucket system for $40, upgrade to better grow lights as you expand, or eventually build a multi-tier setup that feeds your household year-round. The key is proving the concept to yourself first with a small investment, then expanding based on what you actually want to grow.
Skip the expensive all-in-one kits marketed to beginners. You’ll pay premium prices for components you can source individually for half the cost. Build your system from basic parts, learn how each piece works, and you’ll troubleshoot problems faster when they come up.
Choosing Your First Hydroponic System
Kratky Method: The Hands-Off Starting Point
The Kratky Method is the simplest hydroponic system you can build, requiring no pumps, timers, or electricity. You suspend plant roots in a nutrient solution that gradually drops as the plant drinks, creating an air gap that delivers oxygen naturally. This passive design eliminates the technical complexity that intimidates many beginners.
You need just five things: a light-proof container, net pots, growing medium, hydroponic nutrients, and water. A mason jar works perfectly for a single plant. The system is genuinely set-and-forget, fill the container once, plant your seedling, and check back in a few weeks.
Leafy greens thrive in Kratky setups because they grow fast and don’t need continuous nutrient replenishment. Lettuce varieties produce harvestable leaves in three to four weeks. Basil, cilantro, and other herbs also excel, growing bushier than their soil-grown counterparts. Spinach and arugula handle the method well too.
The Kratky approach teaches you fundamental hydroponic concepts without punishing mistakes. If you forget to monitor pH for a few days, your plants won’t immediately die. This forgiving nature makes it ideal for building confidence before moving to systems with more moving parts.
Deep Water Culture (DWC): Simple Active Growing
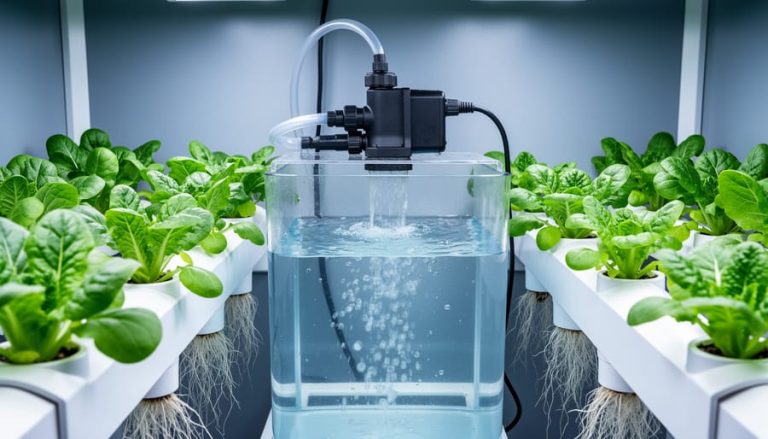
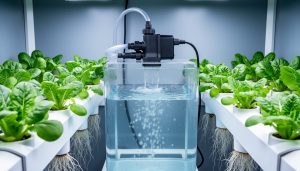
Deep Water Culture suspends plant roots directly in oxygenated nutrient solution, giving them constant access to food and water. A small air pump bubbles oxygen into the reservoir, typically a 5-gallon bucket, preventing roots from drowning and keeping them healthy. This active aeration is what separates DWC from passive systems like Kratky.
Most beginners choose DWC because it’s simple to set up yet delivers fast growth. You’ll see lettuce double in size within days once roots hit the water. The system uses basic components: a bucket, net pot lid, air pump, air stone, and tubing. Total cost runs $25-40 for a single-bucket setup, plus nutrients and plants.
DWC works especially well for leafy greens, basil, and small fruiting plants like cherry tomatoes. The constant nutrient flow accelerates growth compared to soil, often cutting harvest time by 30-50%. You’ll need to check water levels weekly and top off the reservoir as plants drink, which takes about five minutes.
The main learning curve is monitoring pH and nutrient concentration. Unlike Kratky’s set-it-and-forget-it approach, DWC requires weekly testing to keep plants thriving. Once you grasp these basics, though, you can run multiple buckets and scale your garden without much extra effort.
Wick Systems: Low-Tech Reliability
Wick systems work on a principle so simple you might doubt they’re even hydroponics: fabric wicks draw nutrient solution up from a reservoir to the plant roots through capillary action. No pumps, no electricity, no moving parts whatsoever.
The setup requires just a container for your growing medium, a separate reservoir below it, and cotton rope or nylon wicks connecting the two. As the growing medium dries out, the wicks pull up more solution automatically. You refill the reservoir every week or two, and that’s it.
This makes wick systems perfect for anyone testing hydroponics before investing in equipment, or for growing in spaces without reliable power. They excel with herbs like basil and oregano, which don’t demand heavy feeding. Lettuce and other leafy greens also do well in smaller containers.
The limitation? Wick systems can’t deliver nutrients fast enough for heavy feeders like tomatoes or peppers. The flow rate depends on your wick material and how many wicks you use, but it’s always slower than active systems. Still, for low-maintenance herbs on a kitchen counter or a classroom demonstration of how hydroponics works, nothing beats the reliability of a system with zero technical failures.
Essential Supplies Every Beginner Needs
You don’t need a garage full of equipment to start growing hydroponically. A beginner setup requires just five core supplies, and you can get started for under $100 if you shop smart.
First, you’ll need a growing medium, the physical support structure that holds your plants in place since there’s no soil. Clay pebbles (also called hydroton) are the most popular choice because they’re reusable and provide excellent drainage. A 10-liter bag costs $15-25 and will last for multiple growing cycles. Rockwool cubes work well for starting seeds and transplanting, while coconut coir offers an affordable, sustainable option that’s particularly good for wick systems. Avoid regular potting soil or anything that breaks down quickly in water.
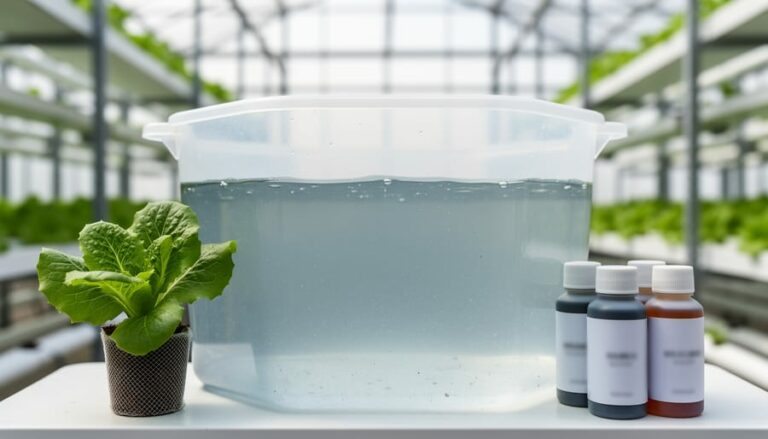
Hydroponic nutrients are your next must-have. Plants need nitrogen, phosphorus, potassium, and trace minerals to thrive. Liquid nutrient solutions designed for hydroponics cost $15-30 for a bottle that will feed several crops. General-purpose formulas like General Hydroponics Flora series or Masterblend work well for beginners growing leafy greens and herbs. Don’t use garden fertilizer meant for soil, it lacks the complete nutrient profile hydroponic plants need and can clog your system.
A pH testing kit is non-negotiable. Hydroponic systems perform best when the pH stays between 5.5 and 6.5, and even small deviations can prevent plants from absorbing nutrients. Digital pH meters ($25-50) are accurate and easy to use, while pH test drops ($10-15) work perfectly fine if you’re budget-conscious. You’ll also need pH adjusters (up and down solutions) to correct levels when needed.
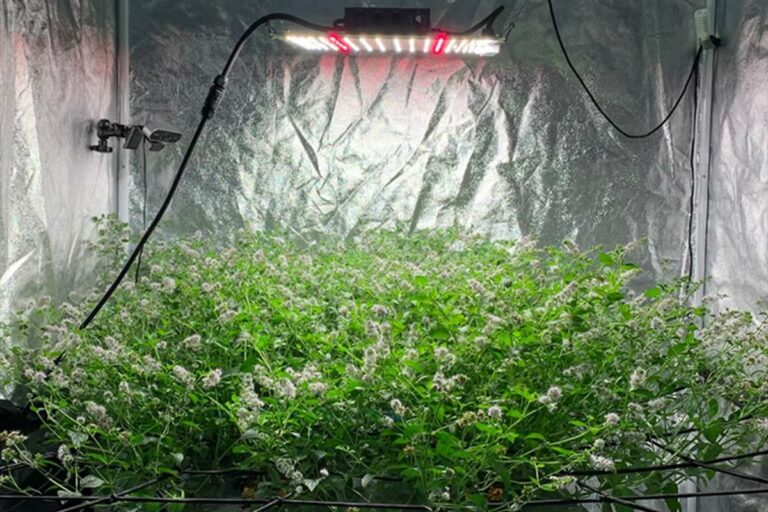
Lighting makes or breaks indoor hydroponic growing. Use proper light levels to ensure healthy growth, most leafy greens need 12-16 hours of bright light daily. If you have a sunny south-facing window, you might get away without artificial lights. Otherwise, invest in LED grow lights ($30-80 for a basic panel). They’re energy-efficient, run cool, and provide the full spectrum plants need. Skip the cheap purple-hued lights that claim to work miracles.
Finally, grab a basic set of measuring tools: a small measuring cup for nutrients, a notebook to track what you’re doing, and scissors for harvesting. These aren’t glamorous, but they’ll save you from costly guesswork and help you learn what works for your specific setup.
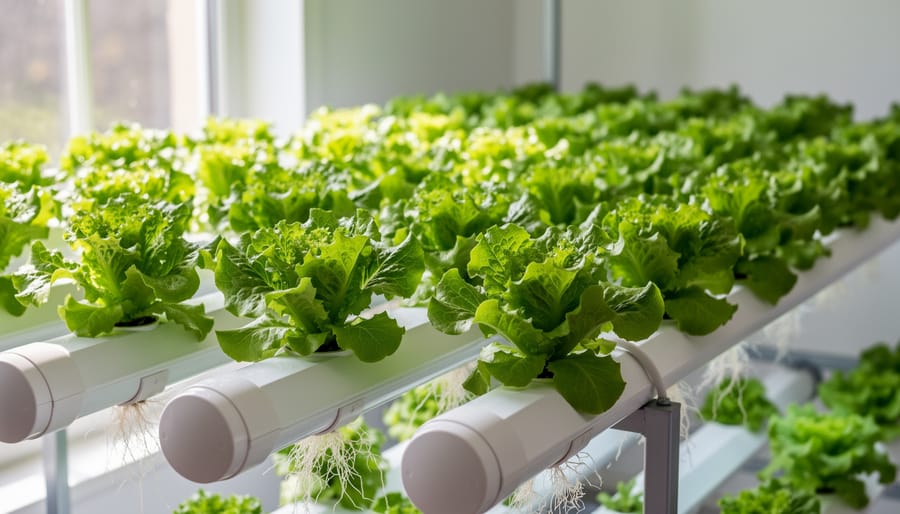
Your First Crops: What to Grow When You’re Just Starting
Start with lettuce, it grows fast, forgives mistakes, and delivers your first harvest in three to four weeks. Leaf lettuce varieties like Buttercrunch or Oak Leaf thrive in nearly any beginner system, tolerate minor pH swings, and recover quickly if you forget to check your water level for a day or two. You’ll see visible growth within a week, which builds the confidence every new hydroponic gardener needs.
Herbs offer similarly forgiving results. Basil grows aggressively in hydroponic setups, often outpacing soil-grown plants by weeks. Mint and oregano establish quickly and tolerate beginner errors like inconsistent nutrient strength. Cilantro works well if you keep temperatures moderate, though it bolts faster in heat than leafy greens do.
Here’s what you can realistically expect from the most reliable beginner crops:
| Plant | Growth Time | Difficulty | What to Expect |
|---|---|---|---|
| Leaf Lettuce | 3-4 weeks | Very Easy | Continuous harvest, forgiving of pH fluctuations |
| Basil | 3-5 weeks | Very Easy | Fast growth, pinch regularly for bushier plants |
| Spinach | 4-6 weeks | Easy | Prefers cooler temps, slower than lettuce but hardy |
| Mint | 4-6 weeks | Very Easy | Grows aggressively, tolerates neglect |
| Arugula | 3-4 weeks | Very Easy | Peppery flavor intensifies quickly, harvest young |
| Cilantro | 3-4 weeks | Easy | Bolts in heat, best in moderate conditions |
Avoid tomatoes, peppers, and fruiting crops for your first grow. They demand precise nutrient ratios, strong lighting, and patient troubleshooting when things go wrong. These plants require more space, longer grow cycles, and the kind of attention to detail you’ll develop after successfully harvesting a few rounds of lettuce and basil first.
Stick with one or two plant types for your initial setup. Growing three different lettuces teaches you more than trying lettuce, basil, mint, and spinach simultaneously. You’ll learn how each plant responds to your specific water temperature, light intensity, and nutrient mix without juggling too many variables. Once you’ve harvested your first crop and understood the rhythm of checking pH and topping off water, then expand your variety.
The Five Things Beginners Get Wrong (And How to Avoid Them)
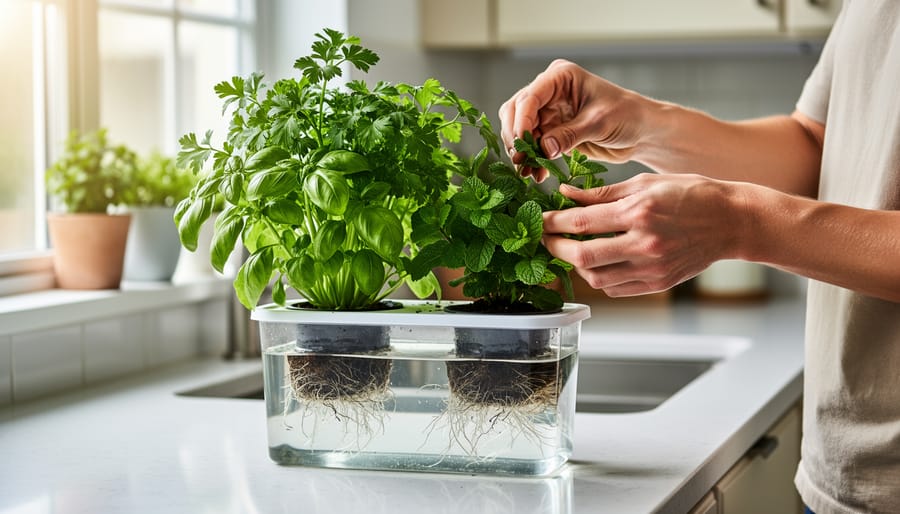
Most beginners lose their first crop to the same handful of mistakes, mistakes that are easy to avoid once you know what to watch for. Here’s what trips up new hydroponic gardeners and how to sidestep these common pitfalls.
Ignoring pH levels is the number one killer of beginner systems. Your plants can’t absorb nutrients if the pH is off, no matter how much fertilizer you add. Most hydroponic crops need a pH between 5.5 and 6.5. Check your water’s pH at least twice a week using test strips or a digital meter, and adjust with pH up or pH down solutions. A $15 pH test kit will save you from watching healthy-looking plants mysteriously yellow and stunt.
Overfeeding plants comes in second. More nutrients don’t mean faster growth, they mean nutrient burn, stunted roots, and potential system crashes. Start with half the recommended nutrient strength on the bottle and increase only if plants show signs of deficiency (pale leaves, slow growth). It’s far easier to add nutrients than to flush an oversaturated system.
Using tap water without testing it first causes endless confusion. Municipal water varies wildly in mineral content and chlorine levels. Fill a bucket and let it sit overnight to off-gas chlorine, or use a basic water filter. If your tap water registers above 300 PPM (parts per million) on a TDS meter, consider starting with distilled or filtered water instead.
Neglecting water temperature is especially common in warmer climates. Water above 75°F becomes a breeding ground for root rot and harmful bacteria. Keep your reservoir in a cool spot, away from direct heat, and add frozen water bottles during heat waves if needed. Roots need oxygen-rich, cool water to thrive, 68-72°F is the sweet spot.
Skipping the cleaning routine between crops invites disease and algae buildup. After each harvest, drain your system, scrub all surfaces with a diluted hydrogen peroxide solution (1 part peroxide to 4 parts water), and rinse thoroughly. This 20-minute task prevents most of the mysterious problems that plague beginners’ second and third grows.
Avoid these five mistakes and you’ll skip the frustration that makes most people quit before their first real harvest.
Building Community: Learning and Growing Together
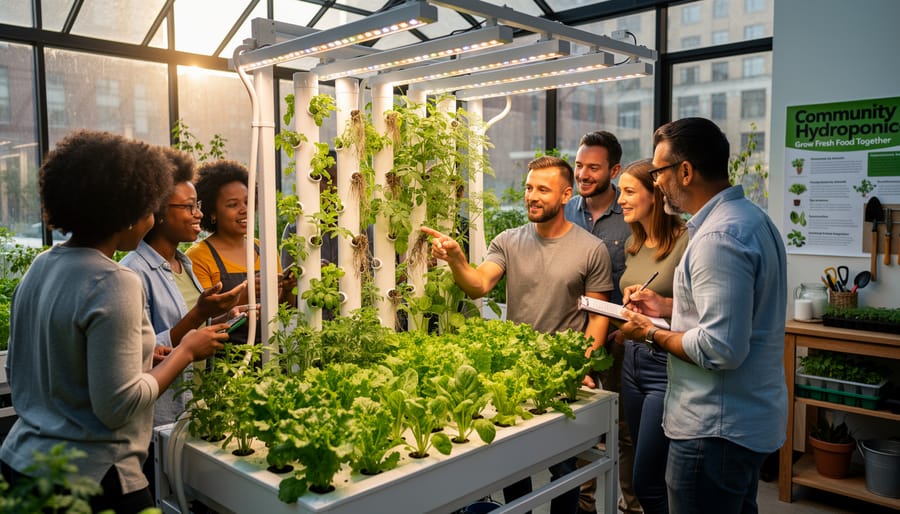
Learning hydroponics doesn’t have to be a solo journey. Some of the most valuable lessons you’ll pick up won’t come from guides or videos, they’ll come from other growers who’ve already troubleshooted the exact problem you’re facing at 10 PM on a Sunday night.
Start by joining online hydroponic communities. Reddit’s r/Hydro and r/hydrogardening are active spaces where beginners post photos of their setups and get real feedback within hours. Facebook groups like “Hydroponic Gardening for Beginners” connect you with thousands of growers at all levels. Don’t lurk, post your questions, share your first harvest photos, and learn from others’ mistakes before making them yourself.
Local connections matter even more. Search or local gardening club listings for hydroponic groups in your area. Many cities have monthly meetups where growers swap cuttings, compare systems, and share surplus nutrients. Community gardens increasingly include hydroponic stations where members teach hands-on workshops. These face-to-face connections let you see working systems up close and ask questions while someone demonstrates pH testing or nutrient mixing in real time.
In underserved neighborhoods and food deserts, community-based hydroponics takes on bigger significance. Groups like urban farming cooperatives and youth agriculture programs use hydroponics to teach skills while addressing local food access. Getting involved, whether as a learner or eventually as someone sharing knowledge, strengthens the network that makes fresh food production possible where traditional gardening faces barriers.
The hydroponics community tends toward generosity. Experienced growers remember struggling with their first system and genuinely want to help you succeed. Ask your questions, share what works for you, and pass that knowledge forward when the next beginner shows up.
Your First 30 Days: A Simple Timeline
The first month sets the foundation for your hydroponic journey. Here’s what to expect week by week, so you’re never wondering if you’re on track.
Week 1: Setup and Seed Starting
Assemble your system and start seeds in a propagation tray or directly in growing medium if using a Kratky setup. Mix your nutrient solution to quarter strength. Check pH daily and adjust to 5.5-6.5. Your job this week is simply to get comfortable with the routine of checking water levels and pH.
Week 2: Transplanting and Monitoring
Move seedlings to your main system once they have their first true leaves (the second set that appears). Increase nutrients to half strength. You’ll notice roots beginning to extend into the water. Check your system daily for leaks, monitor water temperature (ideally 65-70°F), and watch for any signs of stress in your plants. Don’t panic if a few leaves yellow; some transplant shock is normal.
- Week 1: Assemble system, start seeds, mix quarter-strength nutrients, establish daily pH checks
- Week 2: Transplant seedlings with true leaves, increase to half-strength nutrients, monitor roots and water temperature
- Week 3: Switch to full-strength nutrients, check for first signs of vigorous growth, top off water as needed
- Week 4: Begin harvesting outer leaves of lettuce and herbs, maintain nutrient levels, plan your second crop
Week 3: Establishing Growth
Bump nutrients to full strength. Your plants should show vigorous growth now with robust root systems. Top off your reservoir as water levels drop, and keep an eye on pH stability. If you’re growing leafy greens, you’ll see noticeable size increases every day.
Week 4: First Harvest
With fast-growing crops like lettuce or basil, you can start harvesting outer leaves by the end of week four. Don’t pull the whole plant; take what you need and let it keep producing. This is when hydroponics clicks, you’re eating food you grew without soil in less than a month.
You don’t need acres of land, a greenhouse, or years of experience to grow fresh, nutritious food. Hydroponics for beginners is exactly what it sounds like: a starting point that works in apartments, classrooms, community centers, and anywhere else people want to take control of their food supply. The systems we’ve covered here are forgiving, affordable, and designed to help you succeed from day one.
Start with a single Kratky jar on your windowsill or a small DWC bucket in your kitchen. Watch lettuce grow from seed to salad in less than a month. Learn the rhythms of pH testing and nutrient mixing. Make mistakes, ask questions in online forums, and share what works with your neighbors.
The real power of hydroponics isn’t just personal, it’s collective. When you master growing leafy greens in your living room, you can teach someone else. When community groups set up hydroponic systems in food deserts, they create access where grocery stores won’t go. This is how urban agriculture becomes a tool for change, one beginner grower at a time.
Your first harvest is waiting. The community is here to help. Get started today.